Awhile back I talked about how I would blog about my makeup and skincare regiment that I do, so the time has come for all of my secrets to be revealed!
I usually don’t wear makeup during my work week because I feel like my skin needs a break from it. I usually just apply my under eye concealer, pencil eyeliner, tinted chapstik and then throw my glasses on over it.
But when I hit the scene on the weekends or work an event, a full fledge of makeup is needed. I usually like to go for a very natural look. You’re going to notice that I buy a lot of my makeup products from Sephora and CVS Pharmacy.
So tie your hair back and let’s do this! I also just got a Pinterest account, so you can always refer back to it to view the products I use as well!
Cleansing/toning/skin cream
Step 1: Cleanse the skin.
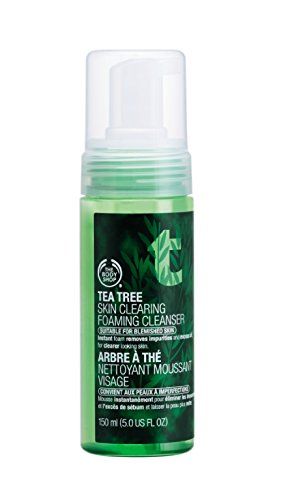
I really like using The Body Shop’s Clarifying Tea Tree Skin Clearing Foaming Cleanser ($15) to remove any dirt or impurities before I apply the toner and cream to my skin. Just shake, pump, apply and rub in a circular motion all over your face. Don’t get it in your eyes, it will sting!
Step 2: Apply skin toner.
I have combination skin (oily and dry) and I am in love with the Lancôme skincare line (you can also buy it at a major retailer stores like Macy’s or Nordstrom’s). I have been using it since I was a kid and I am still in love with how well it hydrates my skin! I usually do this step and Step 3 after I take a shower. Don’t forget to apply this to your neck along with step’s 3 and 4!
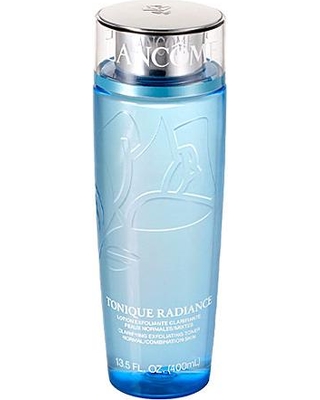
I start with the Tonique Radiance Clarifying Exfoliating Toner ($26 – $44), which has the antioxidant white lotus and clarifying anise extract to improve skin tone, texture and clarity. I just put it on a Beauty 360 Premium 100% Cotton Square from CVS Pharmacy ($3.79 for 200 ct). My skin feels so refreshed afterwards!
Step 3: Apply serum.
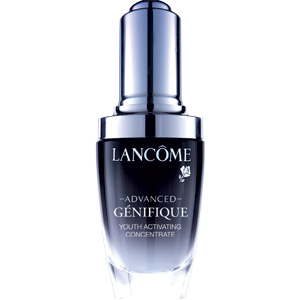
I usually put on a serum before I put on my skin cream, so I use Advanced Genefique ($78), which boosts youthful radiance and restores smoother, more radiant skin. Just a couple drops and I am good to go!
Step 4: Apply skin cream.
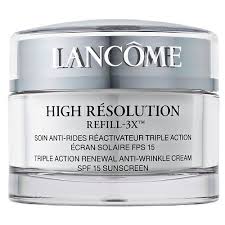
I follow it up with the High Resolution Refil 3X – Anti-Aging Moisturizer ($89 – $102), which helps reduce the number, depth and size of wrinkles. It really makes your skin feel soft and smooth! I apply is in a circular motion to that is really gets deep down into my pores.
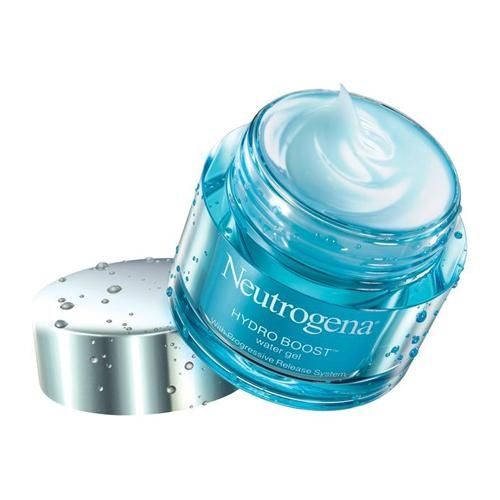
Sometimes I like to switch it up and even use Neutrogena’s Hydro Boost Water Gel ($19.99 from CVS Pharmacy), with hydrates dry skin and keeps it looking smooth.
 BTW, I want to point out that all of the products I use are oil-free. 🙂
Applying makeup
Step 1: Apply under eye cream.
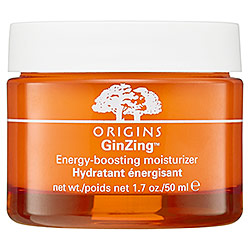
I have incredibly bad hereditary dark circles and I tried so many products over the years that don’t take away the problem, but slightly lighten them up and decrease the lines underneath. Right now I am in love with Origins GinZing ($30), which has a little bit of caffeine, ginseng and magnolia that extracts to brighten up the eye and reduce puffiness. I put this on in the morning only.
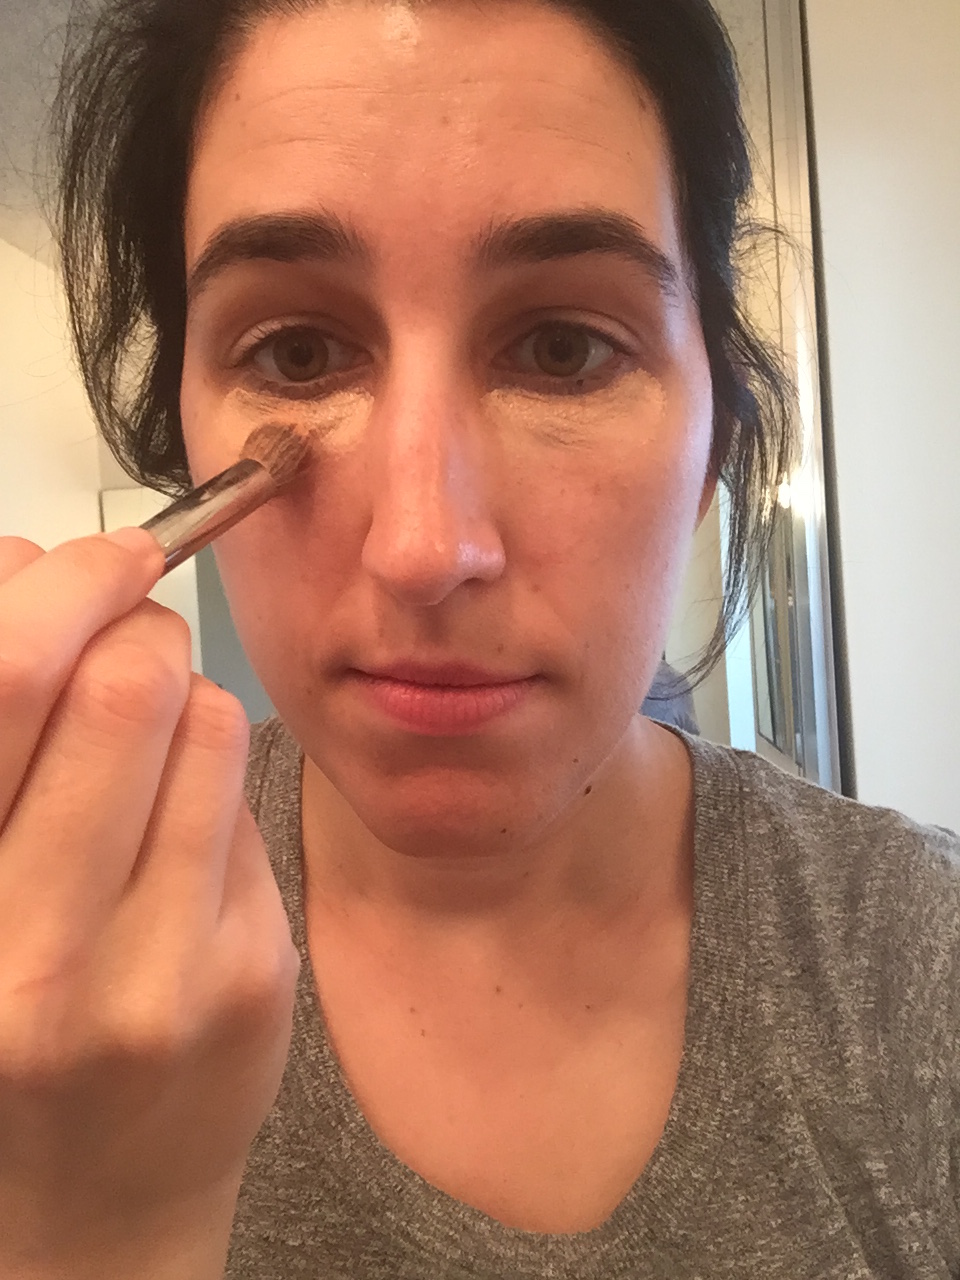
Step 2: Apply/blend eye concealer.
Again, to cover up those dark circles! It takes me a few layers to get them just the way I want it and I use Benefit Erase Paste Brightening Concealer in a Medium shade ($26). You don’t want a shade too light, it will actually pop the darkness out more. You want one closer to your natural skin tone, hence why I use the Medium shade.
I use the Pro Stippling Concealer brush ($24) from Sephora to apply the cream underneath my eyes. I then like to blend it with a Beauty 360 Jumbo Cosmetic Wedge (you can buy them at CVS Pharmacy and they come in a pack for $3.99) by pressing down gently in a dabbing kind of motion.
Step 3: Apply eyeshadow primer.
I love eyeshadow primer because I have a bad crease problem. I use Benefit Don’t Stray 360 Degree Stay Put Eyeshadow Primer in Light/Medium ($26). I apply it to my eyelids only, then kind of wave some air over them so it dries faster.

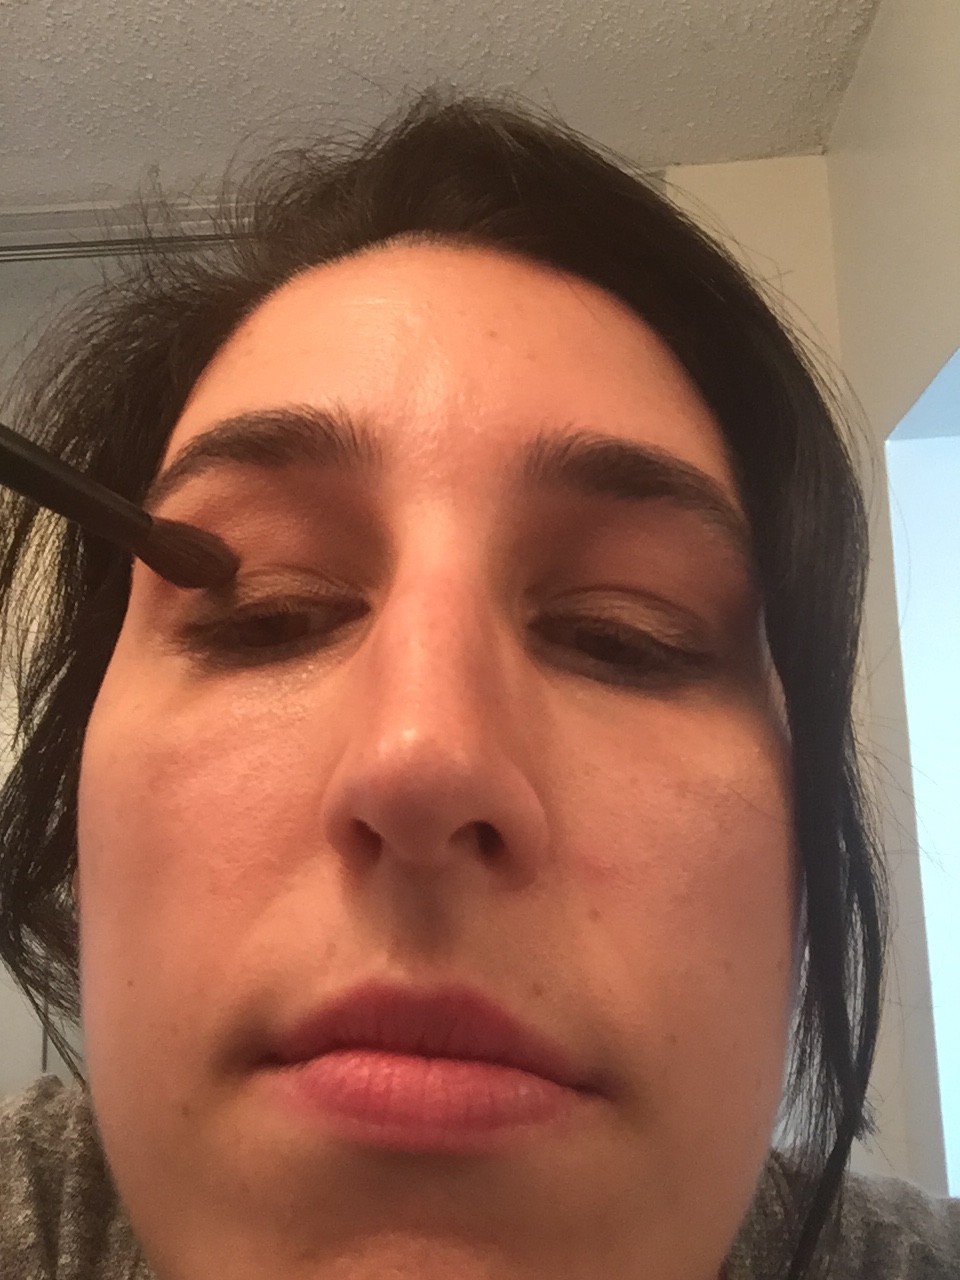
Step 4: Apply eyeshadow.
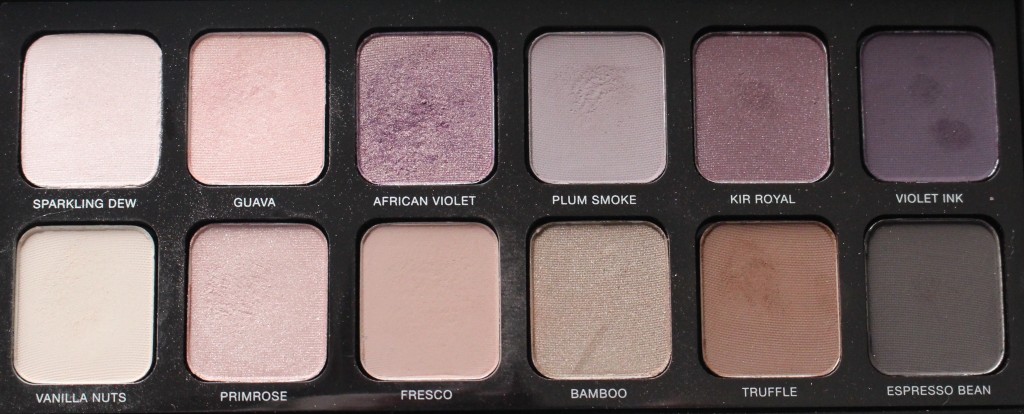
For me, this is the funnest part of the whole makeup routine. I love purples, pinks, nudes and brown shades and the only eyeshadow palette I use that has them all is Laura Mercier’s Eye Artist Palette ($55). I apply the colors using the Sephora Natural Resources Everyday Eye Brush Set ($39).
For this step, I use 5 eye colors. In this case I am going to use the Sparkling Dew, Primrose, Fresco, Bamboo and Truffle shadows (see above).
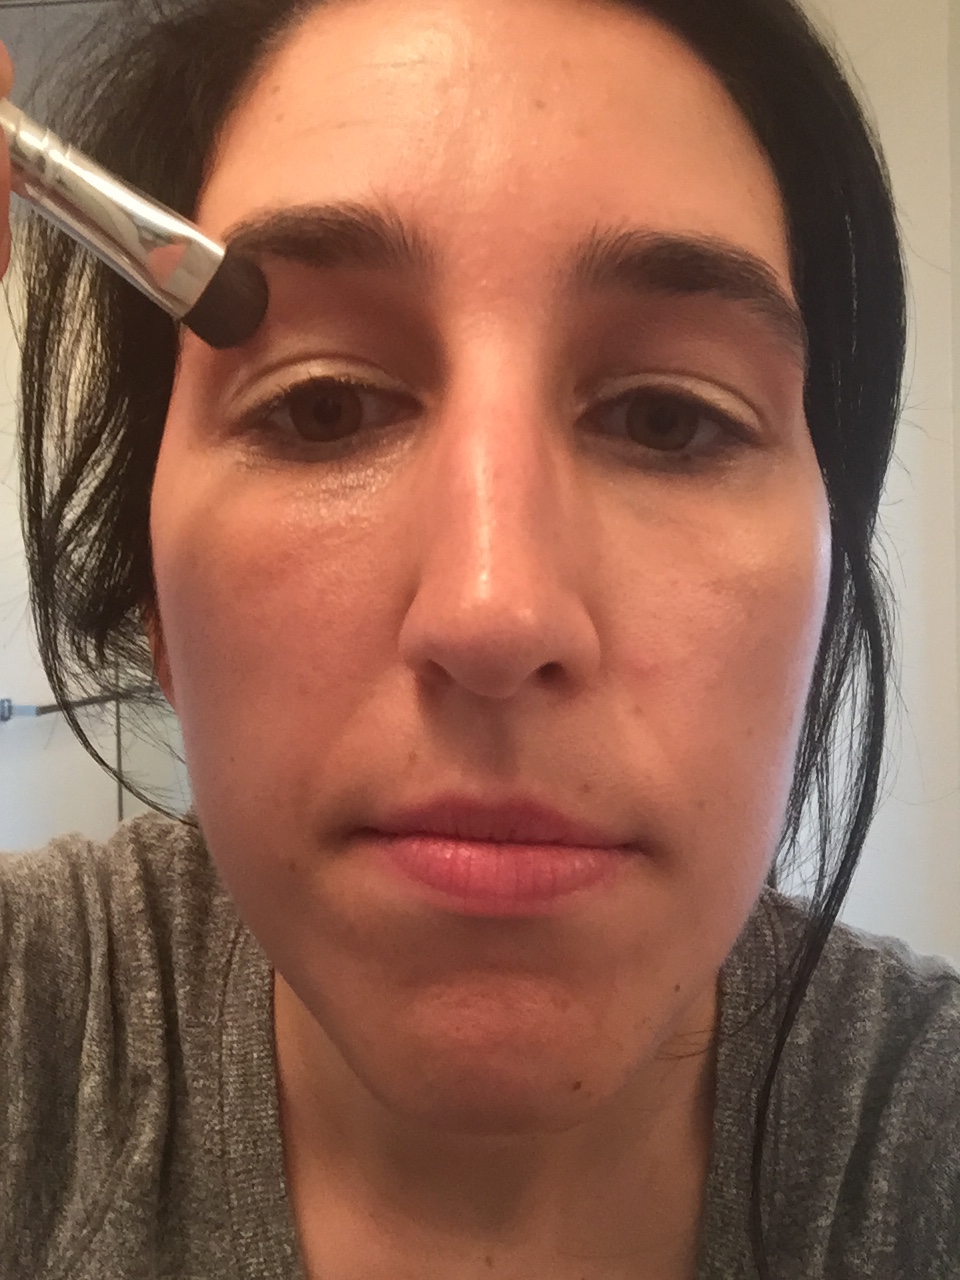
- I start by using the All Over Shadow Brush with the Primrose to apply right underneath the eyebrows. You don’t want to use a dark color as a lighter color will make the eyebrows pop out more.
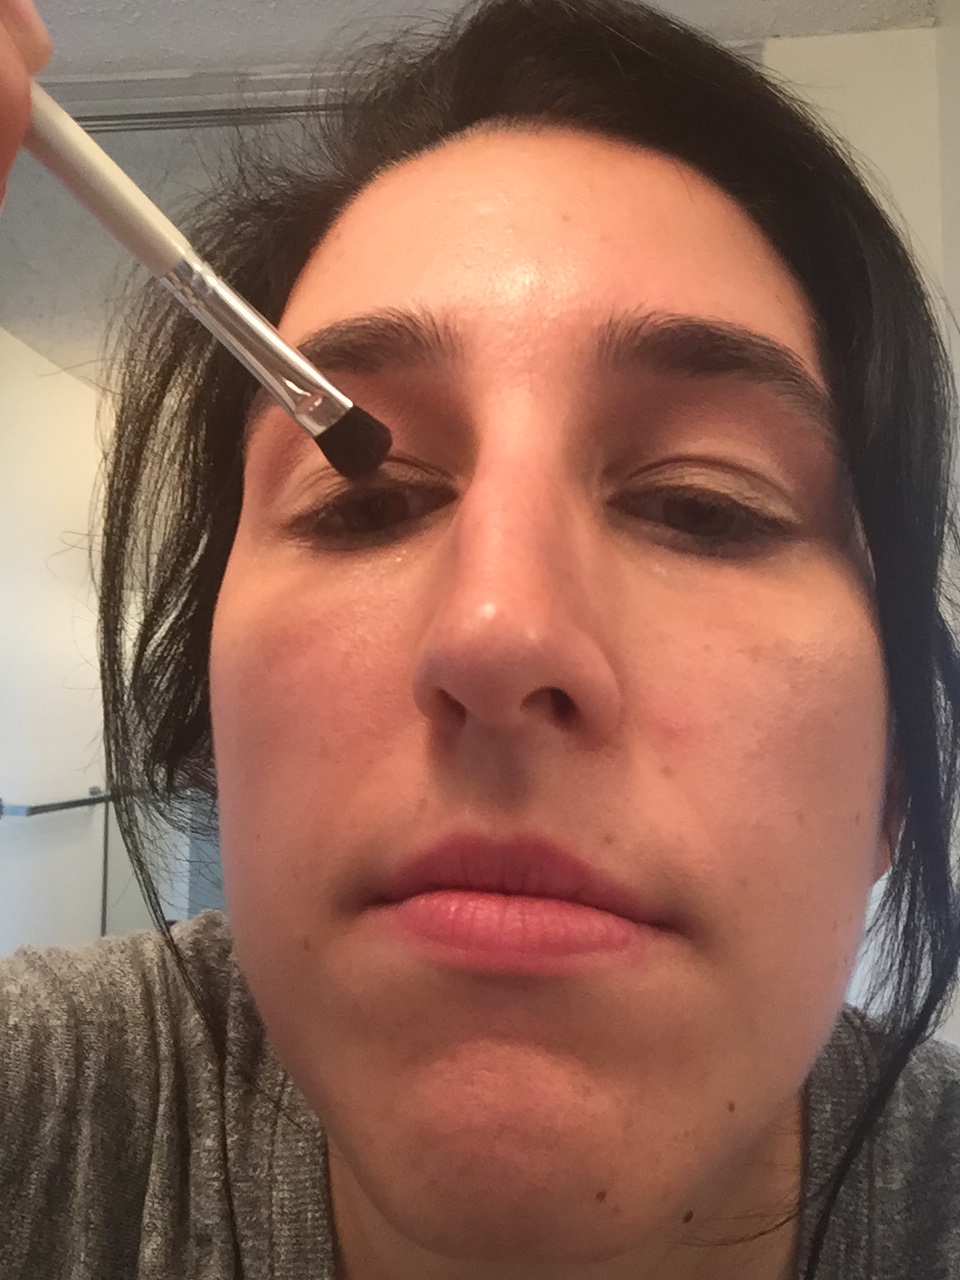
- Next I take the Small Shadow Brush and apply the Bamboo on the inner part of my eyelid and go outwards more than halfway.
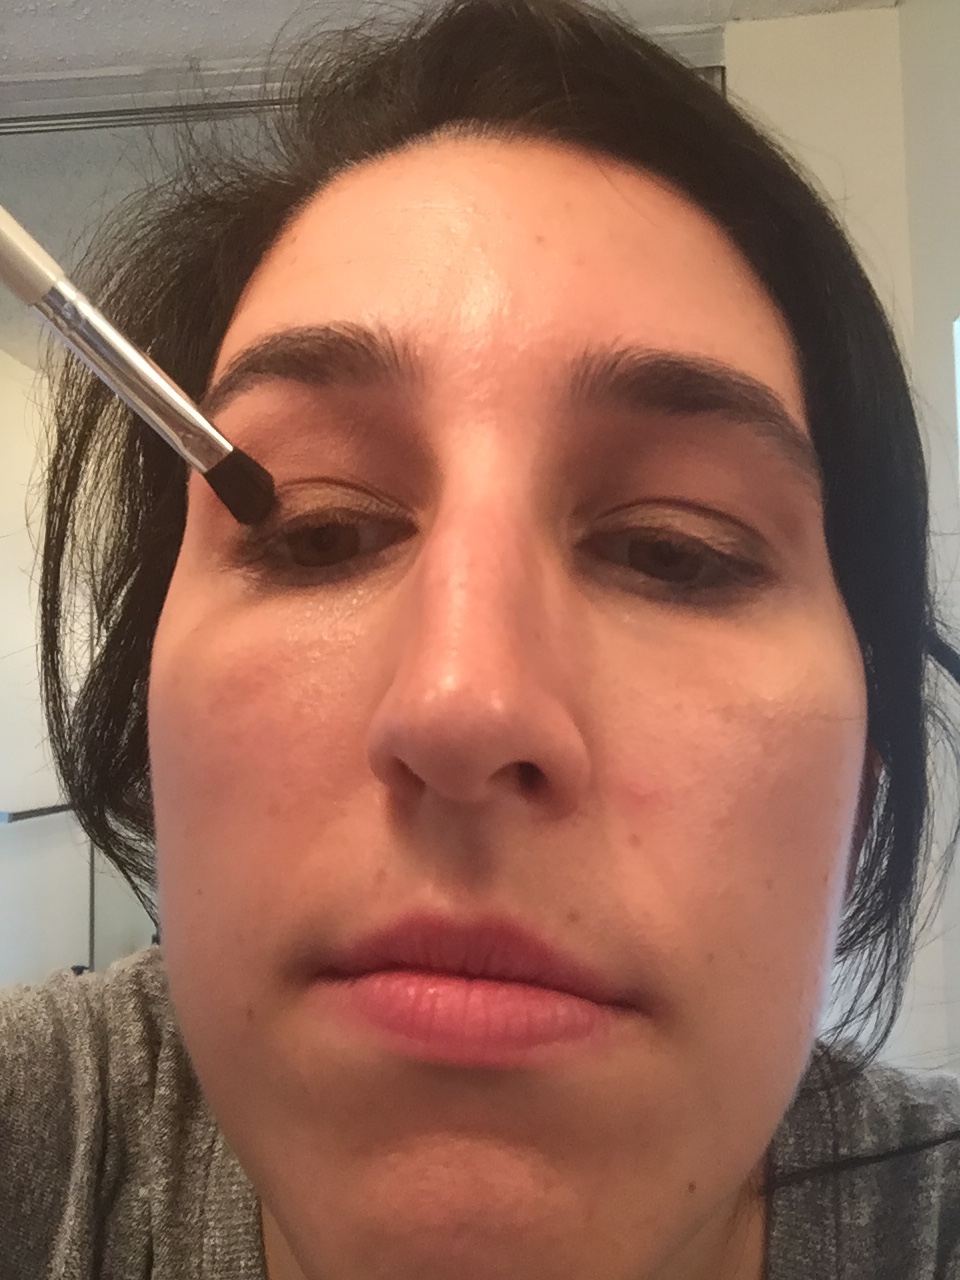
- Now it’s time to use the Angled Shadow Brush and use the Truffle to apply it to the outer corners of my eyelid, going inwards slightly. You always want to use a darker shadow for this step, so it looks like the dark color is fading into the light, and vice versa.
- Next I take the Rounded Crease Brush (which I also use to blend everything at the end) and take the Fresco and apply it to the crease of the eyelid. Always use an in between color for this step.
- Time to blend!
- Finally, as an option, to open your eyes up even more, take a white or light cream shadow (in this case, it’s the Sparkling Dew) and apply it to the inner corners of your eyes using the Small Shadow Brush. This is a trick I learned from Kim Kardashian West’s makeup artist, Ariel Tejada.
- You also want to dust off any eyeshadow that fell below with the wedge sponge or a clean brush when you are done.
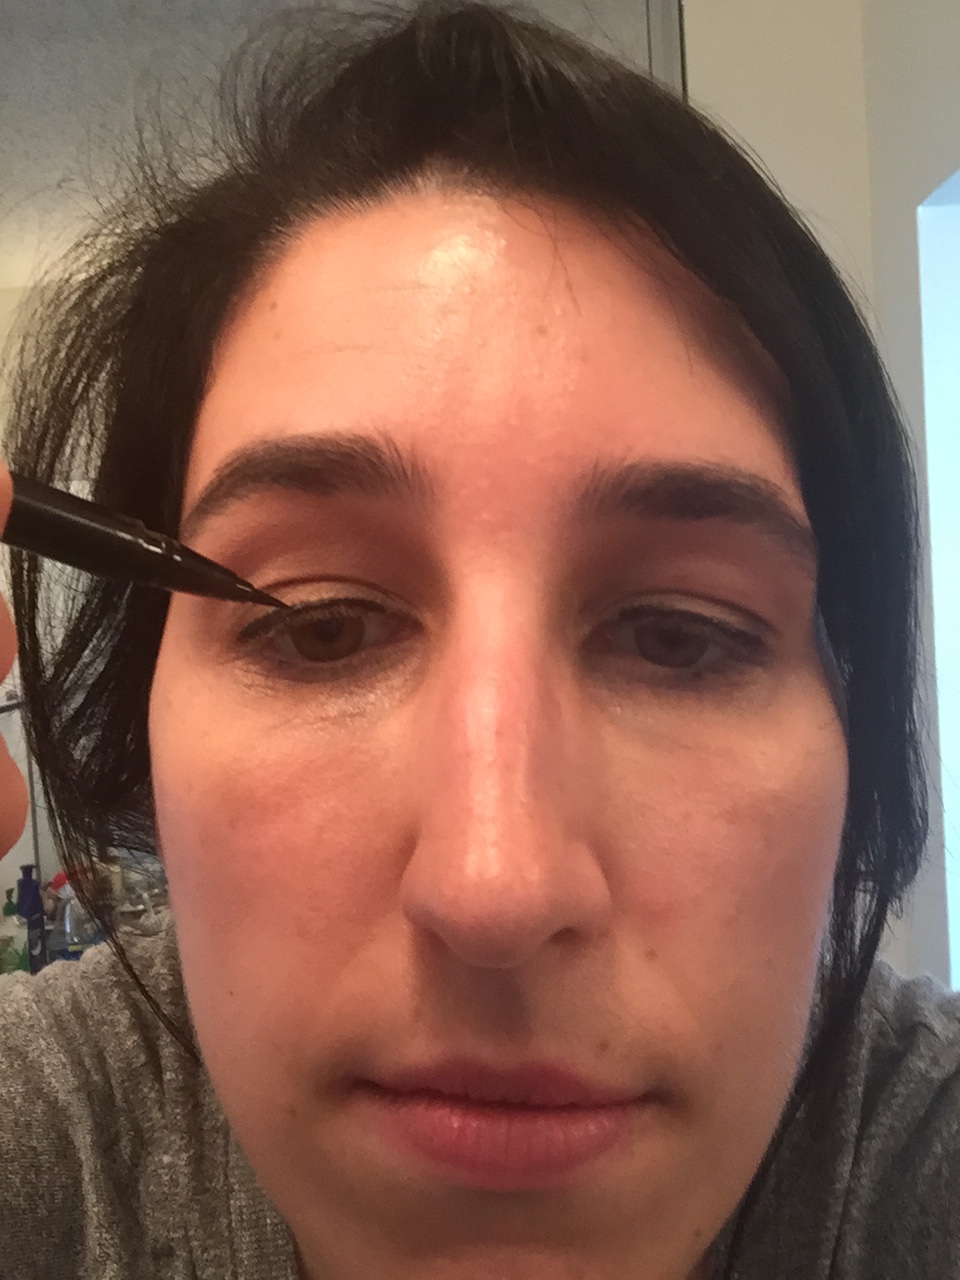
Step 5: Apply liquid eyeliner (top lids only).
This is actually the one part about applying makeup that I hate the most. I have to apply it very slow so that I don’t cause a mess, plus I want the line to be not too thin and not too thick. I use the Stila Stay All Day Waterproof Liquid Eye Liner in Black ($14 – $22).
If I do feel like I shaped the line a bit too crooked, I take my Flat Liner Brush with the shadow to fix it up a bit.
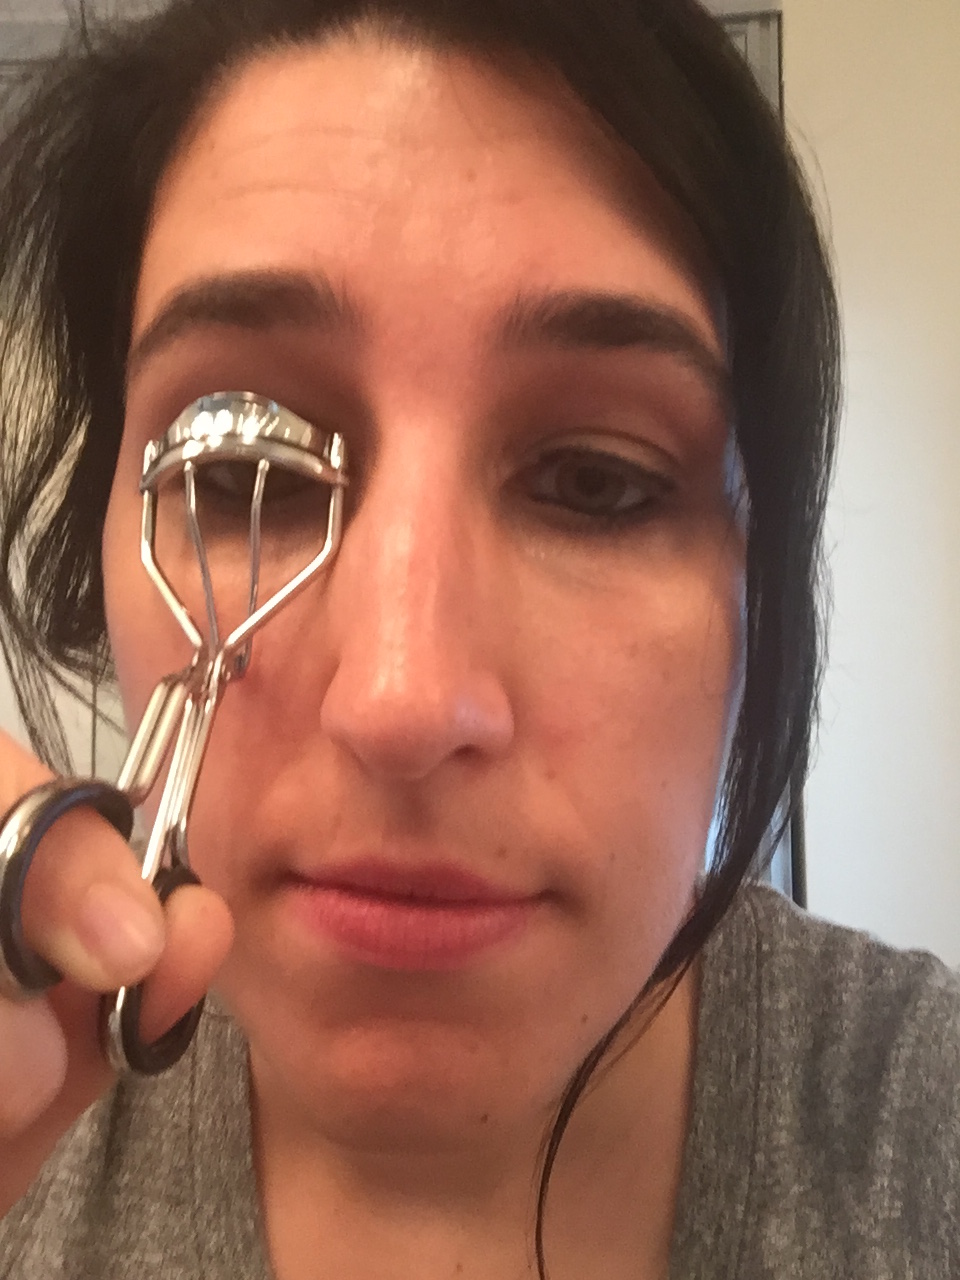
Step 6: Curl the upper eyelashes.
I use the Beauty 360 Delxue Hold Eyelash Curler from CVS Pharmacy ($6.99). It’s simple, quick and makes a great curl at a good price in my opinion!
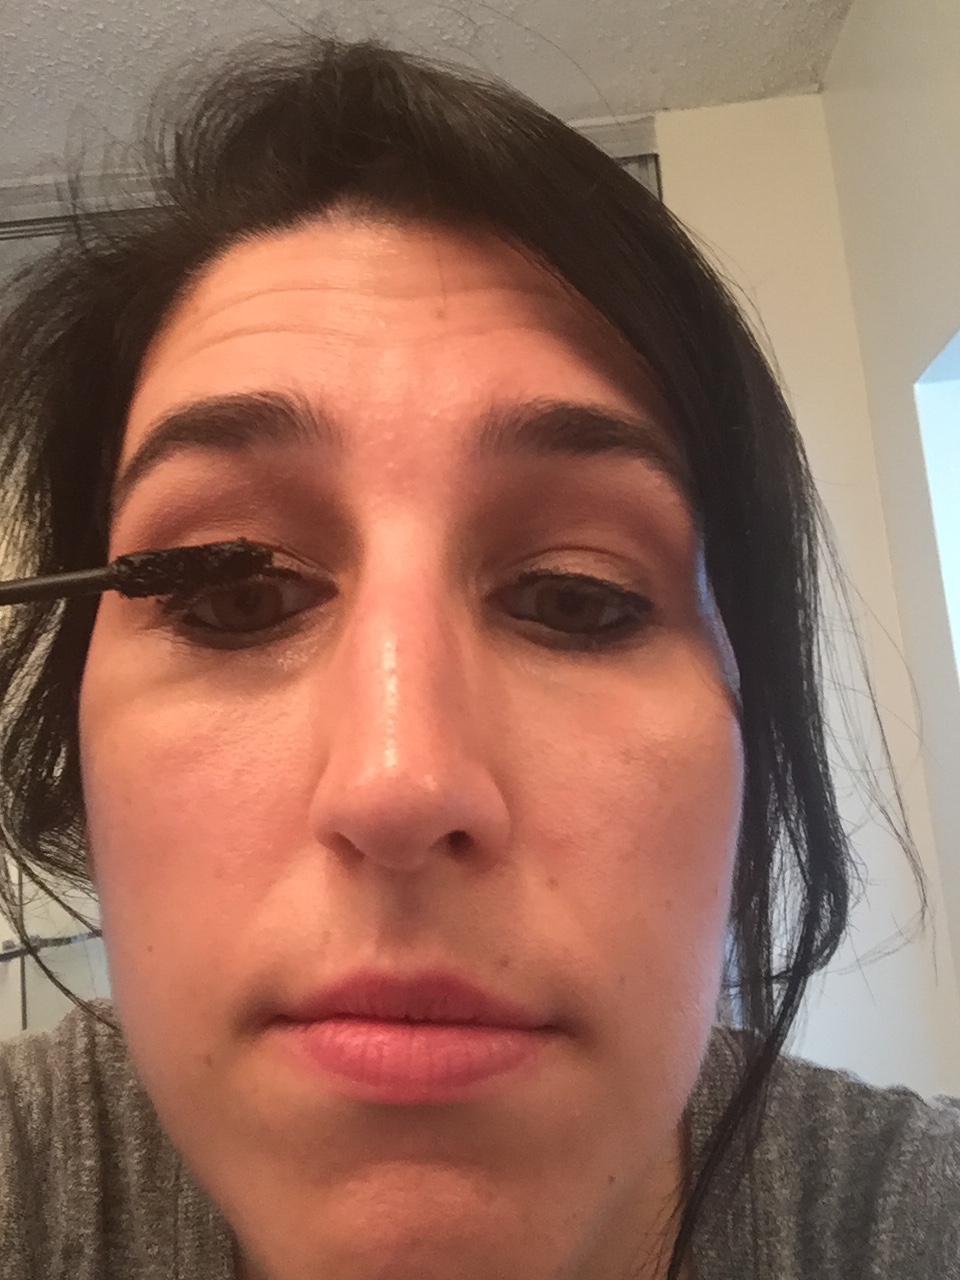
Step 7: Apply mascara (upper lashes only).
I am not a huge fan of mascara but I like to apply a light, simple layer to my upper lashes only. Sometimes I will use Benefit They’s Real! Lengthening and Volumizing Mascara ($24) but right now I am using L’Oreal Voluminous Original Washable Mascara ($7.79 from CVS Pharmacy).
I then take the Sephora Pro Brow Comb ($15) and use the comb side to brush out the lids and remove any clumps that may be lurking.
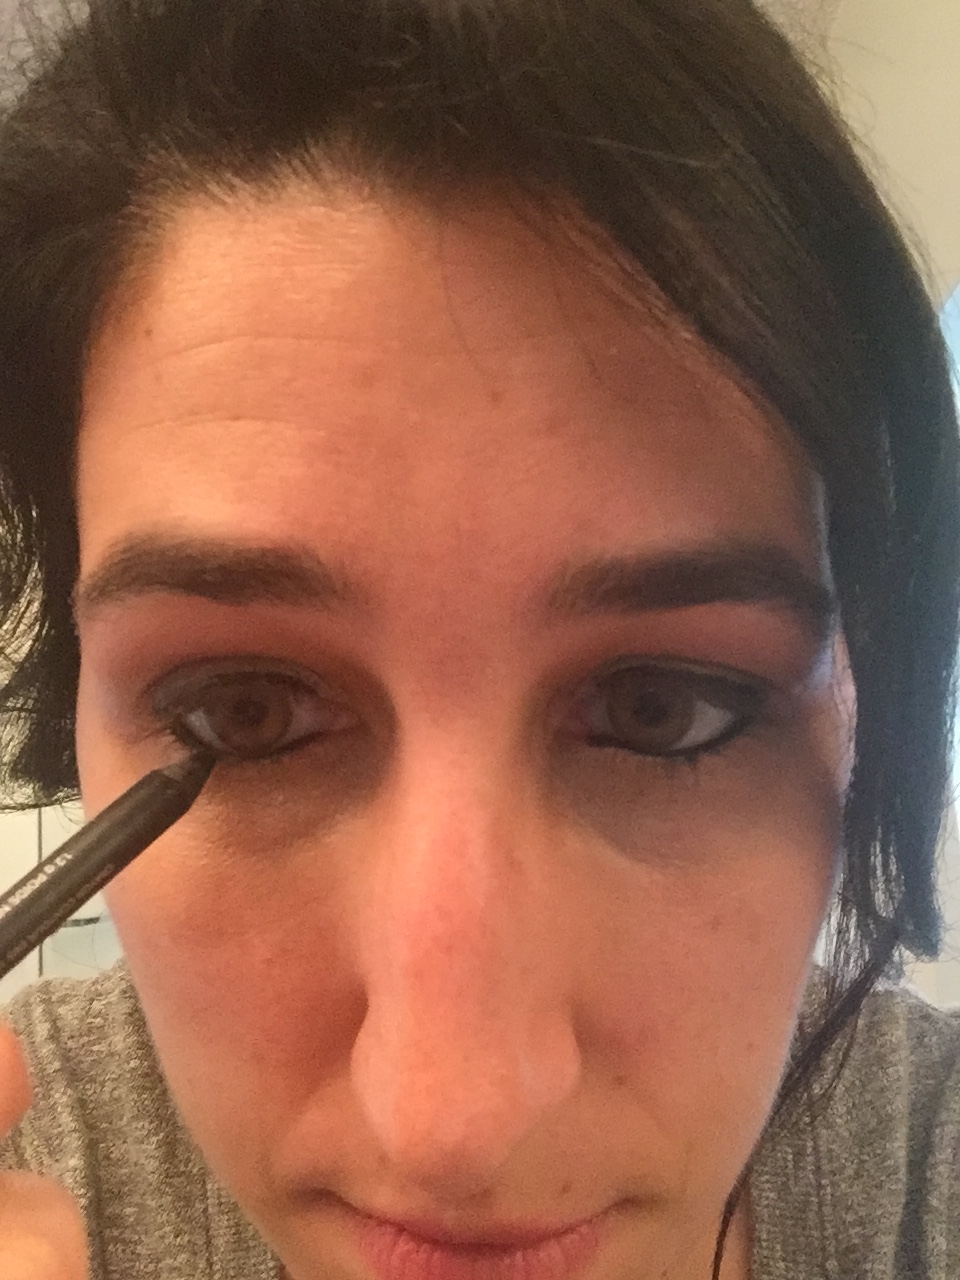
Step 8: Apply pencil eyeliner (bottom lids only).
It took me awhile but I finally found a pencil eyeliner that won’t rub off on the waterline. I use Urban Decay’s 24/7 Glide-On Eye Pencil in Black ($20). Make sure the pencil is sharp before applying, you want a thin, not so smudged line!
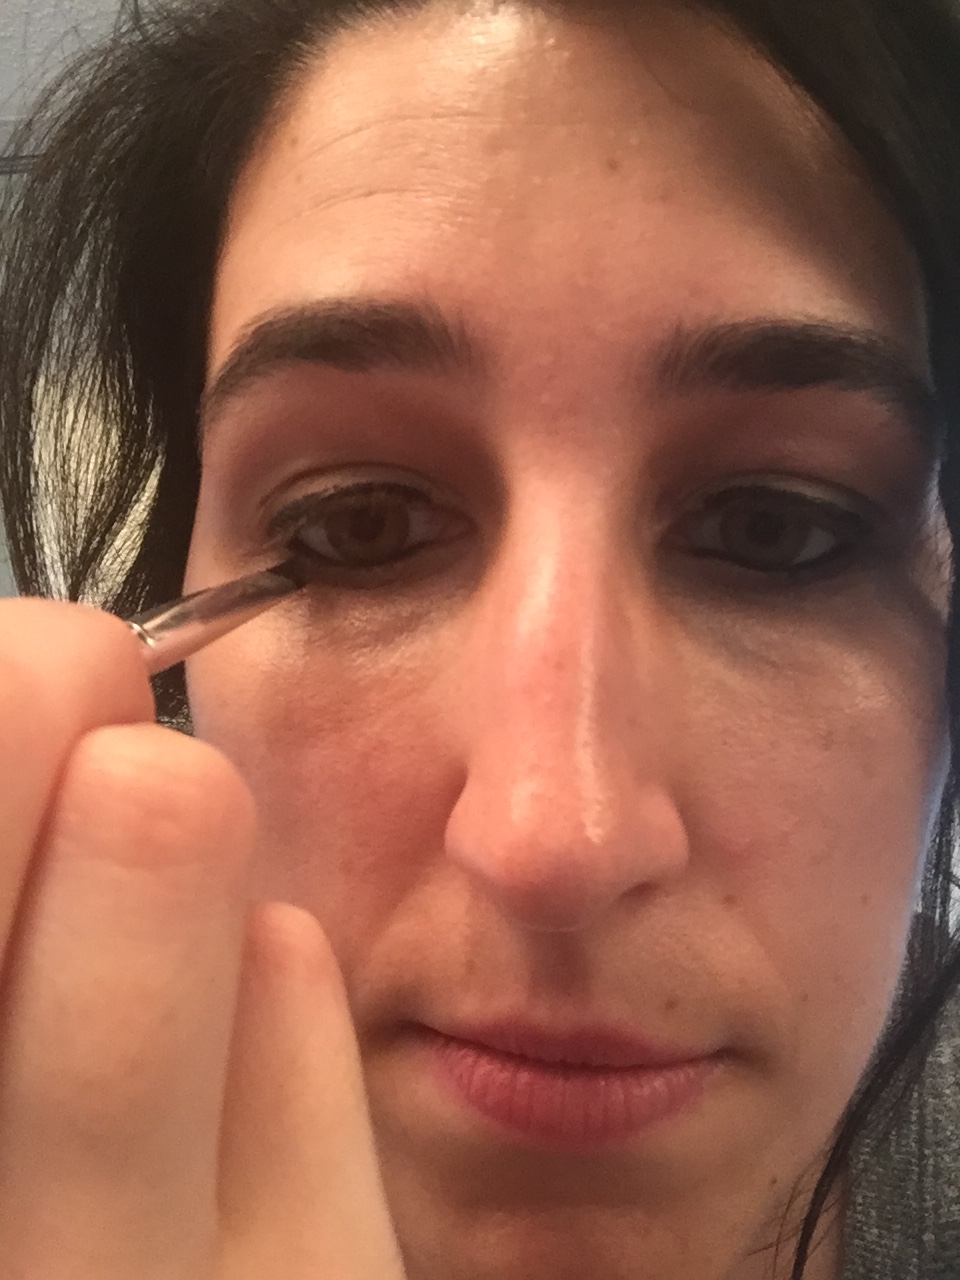
Step 9: Apply eyeshadow underneath the lower lids.
I know people like Kim Kardashian usually like it thicker underneath, but I like mine thinner.
Using the Flat Liner Brush, take the darker shade (in this case, the Truffle) that was used for the outer part of the eyelid and apply it to the outer corners of the under eyes, bringing it inward slightly. Do the same with the lighter shade (in this case, Bamboo) but apply to the inner corners of the eyes and bring it outward slightly.
Using a Blending Brush, gently sweep away to get rid of any harsh lines.
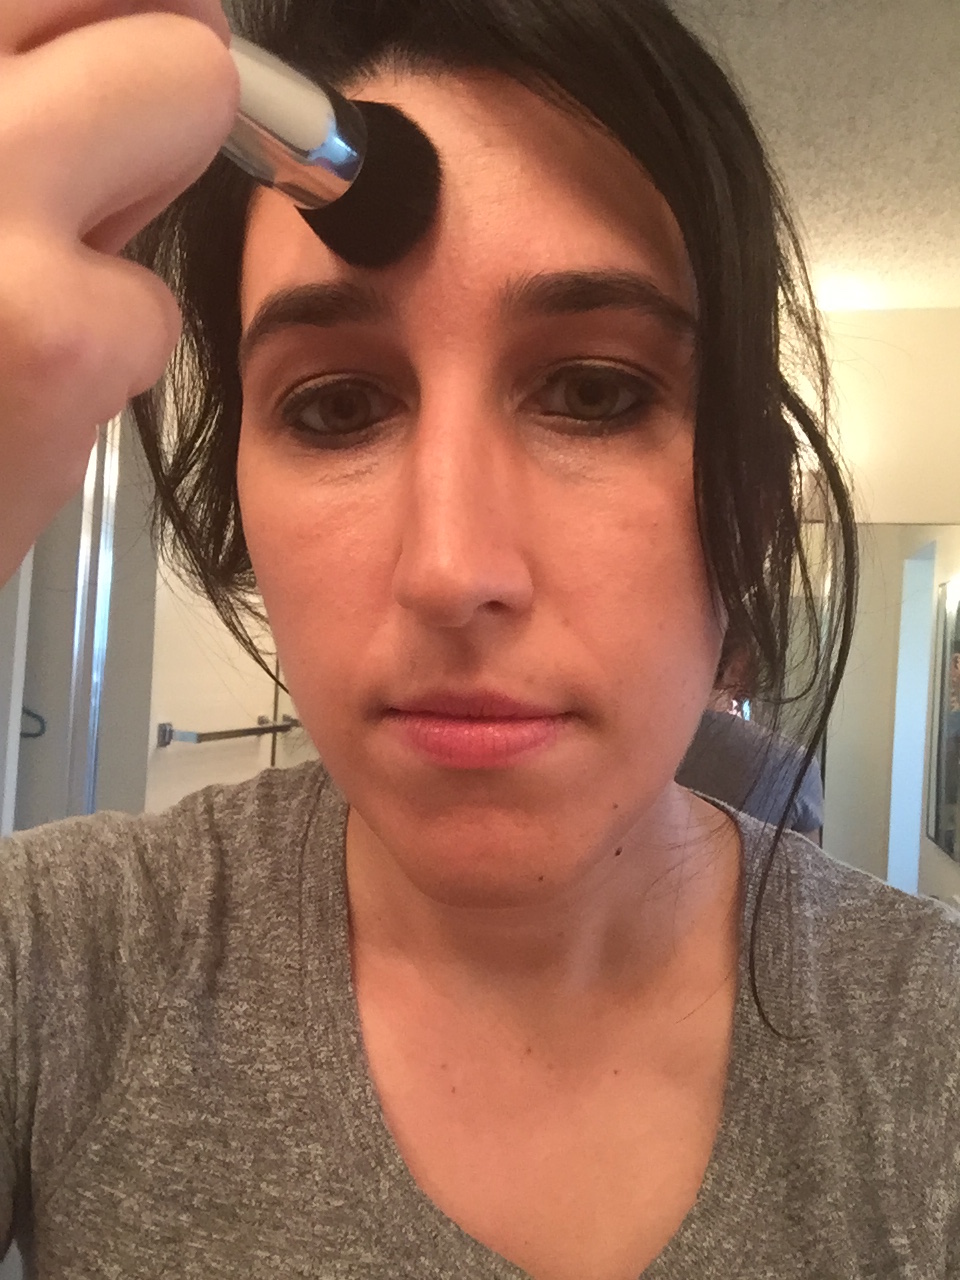
Step 10: Apply foundation, contour or strobe.
Here’s the thing: I know a lot of women usually like to apply some type of foundation before they contour or strobe, but personally, I don’t like doing that. I like to wear as less on my face as possible.
If I am just going to use foundation, I will use Bare Minerals Matte Foundation Broad Spectrum SPF 15 ($28.50) in the Medium shade (I use a Matte because I have very oily skin and reduces moisture), followed by Tarte Amazonian Clay 12-Hour Blush in Dazzled ($28) and then apply the Laura Mercier Invisible Loose Setting Powder ($38) with the Sephora Pro Airbrush ($34).
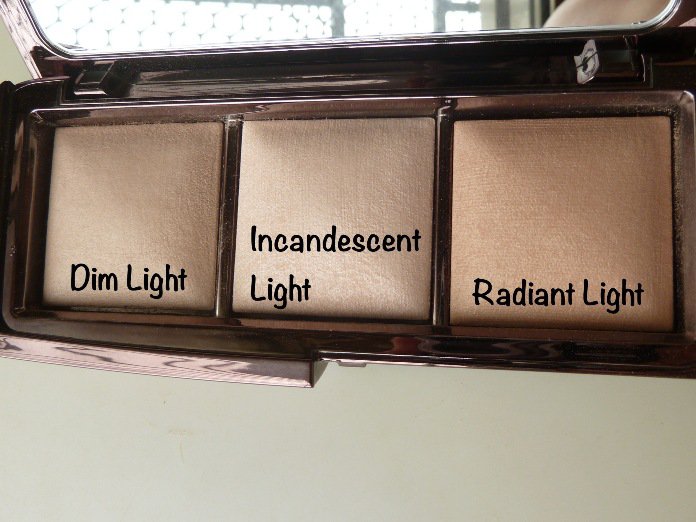
For contouring, I use the Sephora Flatter Yourself Contour Brush Set ($48) with the Hourglass Ambient Lighting Palette ($62). I like using a lighter contour palette these days. This was actually my goal last year, to learn how to contour, now I am in love with it!
According to Sephora.com, the ambient palette “utilizes photoluminescent technology to filter out harsh light and refine the appearance of the complexion. The powders deliver a multidimensional luminescence to every skintone, making it appear softer and lit from within.” Interesting!
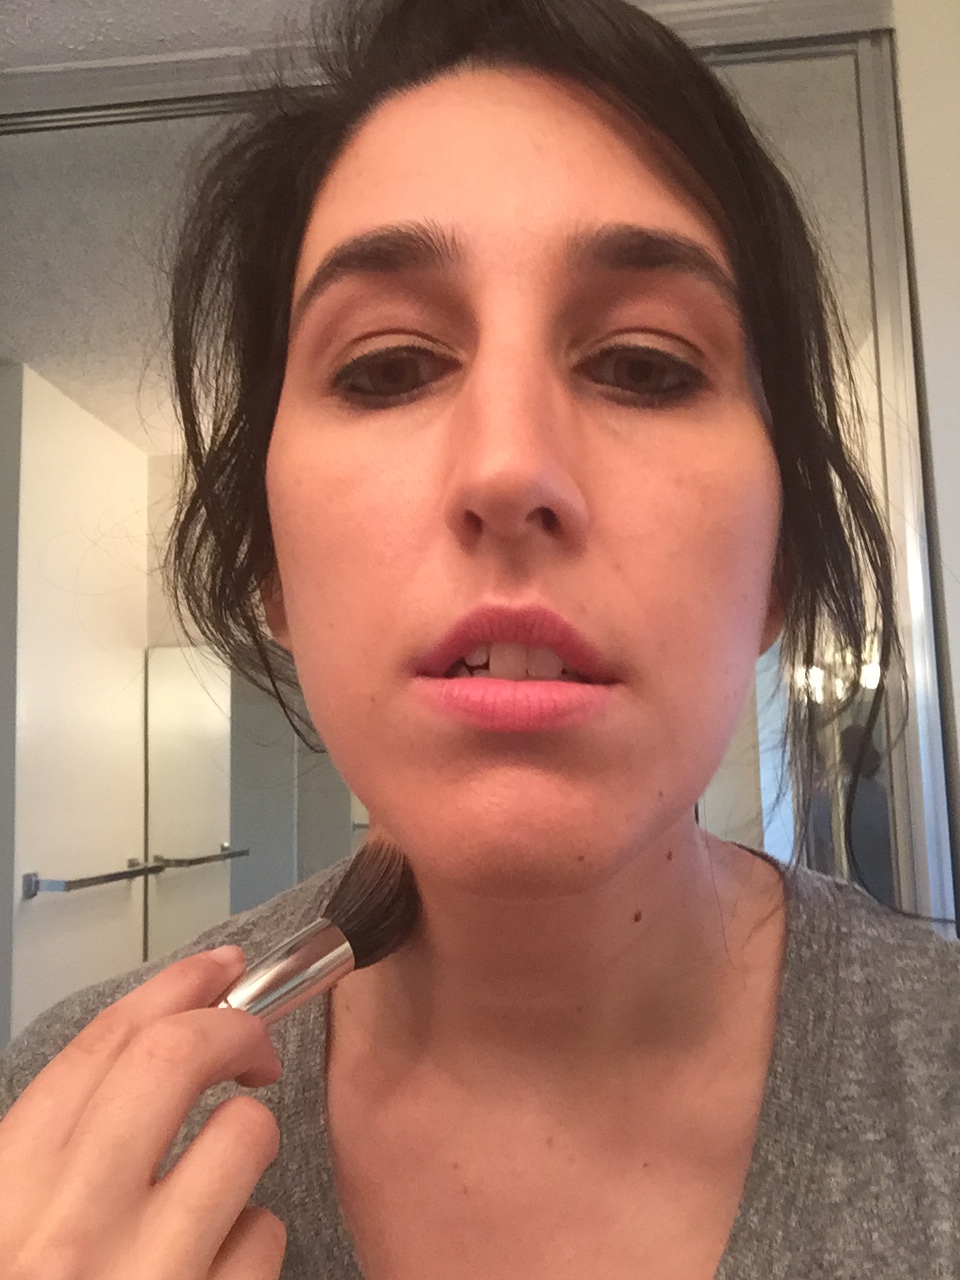
- Using the darker shade, take the Angled Blush Brush and apply the Dim Light powder to the hollows of your cheekbones from the ear lobe down, brushing downwards (you will need to suck in your cheeks as well). Apply this also to the jaw line, cupid’s bow, tip of the nose, outer part of the nose, then along the upper forehead line and around the temples of the face. Also apply it to either side of your neck.
- Next take the Buffing Brush and use the Incandescent Light powder by going around the contour.
- Finally, take the Stippling Brush and apply the Radiant Light powder (more of a shimmer) all over the face and neck to take away any harsh lines. Wallah you’re done!
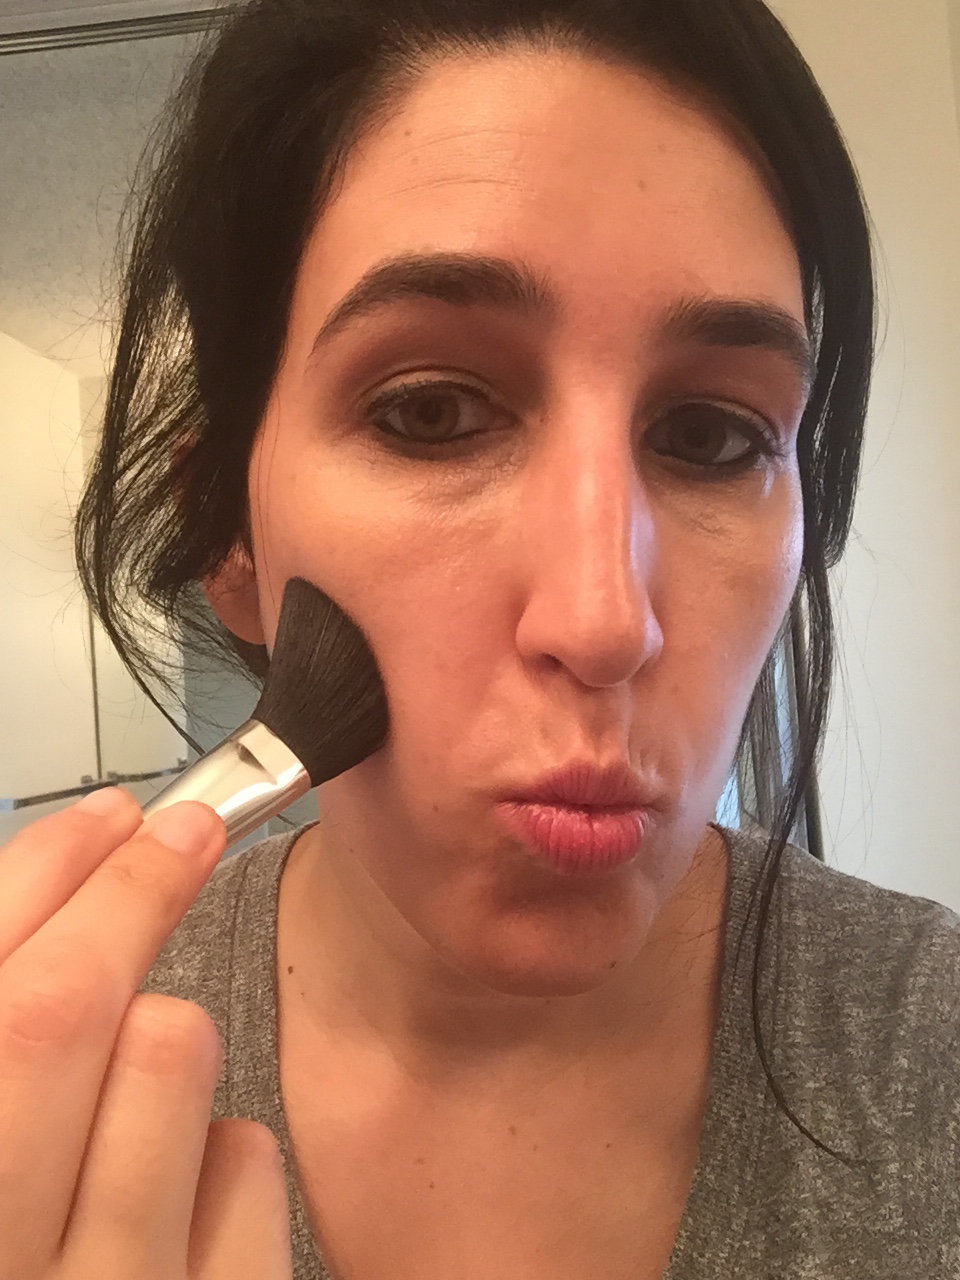
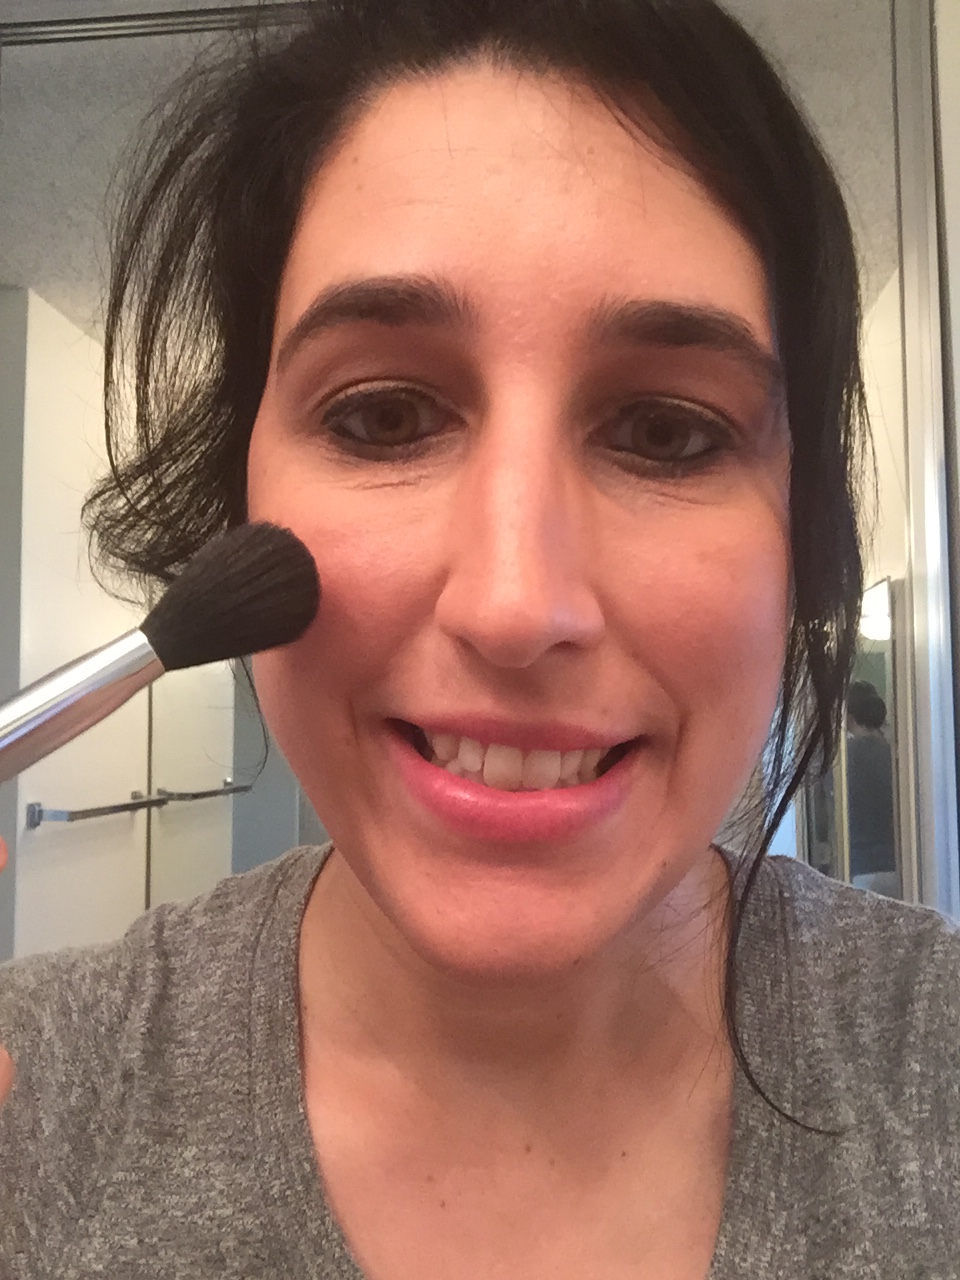
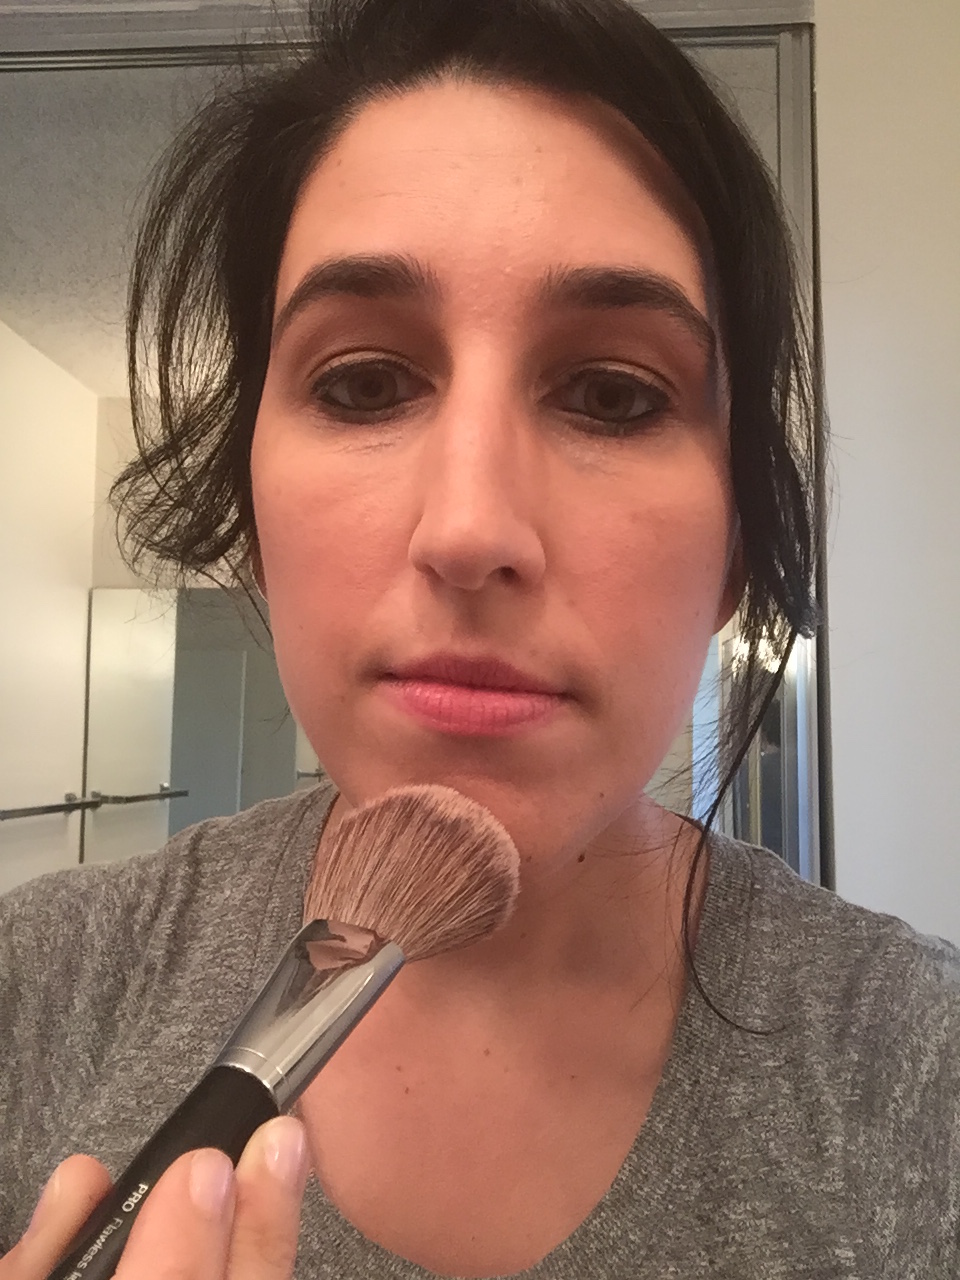
Step 11: Apply blush.
I apply the Tarte Dazzled Blush to the apples of my cheeks using the Angled Blush Brush, brushing outwards.
Step 12: Apply cream to upper lip.
I learned this trick from Kim Kardashian’s makeup artist, Mario Dedivanovic. It gives the look of a pout, which I think is totally adorable!
I just apply some of the Benefit Erase Paste Concealer to the upper lip with the Pro Stippling Brush. Then I take a wedge sponge and blend it in a downward motion.
Step 13: Apply finishing powder.
I take the Laura Mercier Invisible Loose Setting Powder and apply it lightly and gently all over my face with the Pro Airbrush. Finishing powder helps set in all of the foundation and contouring you just did on your face.
Step 14: Brush out eyebrows (or apply liner).
I am actually very secure with my eyebrows and how they look, I don’t pluck them or use any pencil!
I just take the Pro Brow Comb and brush them out with the brush side. Maybe I will try penciling my eyebrows in the future, if so, I will have to try the ultimate eyebrow pencil, Anastasia Beverly Hills Brow Wiz.

Step 15: Apply lip liner.
I usually like to use a Velvet Matte Lip Pencil from NARS ($26) but I ran out, so I went to CVS Pharmacy and got Revlon’s Colorstay Lipliner in Natural ($8.79). It works pretty well!
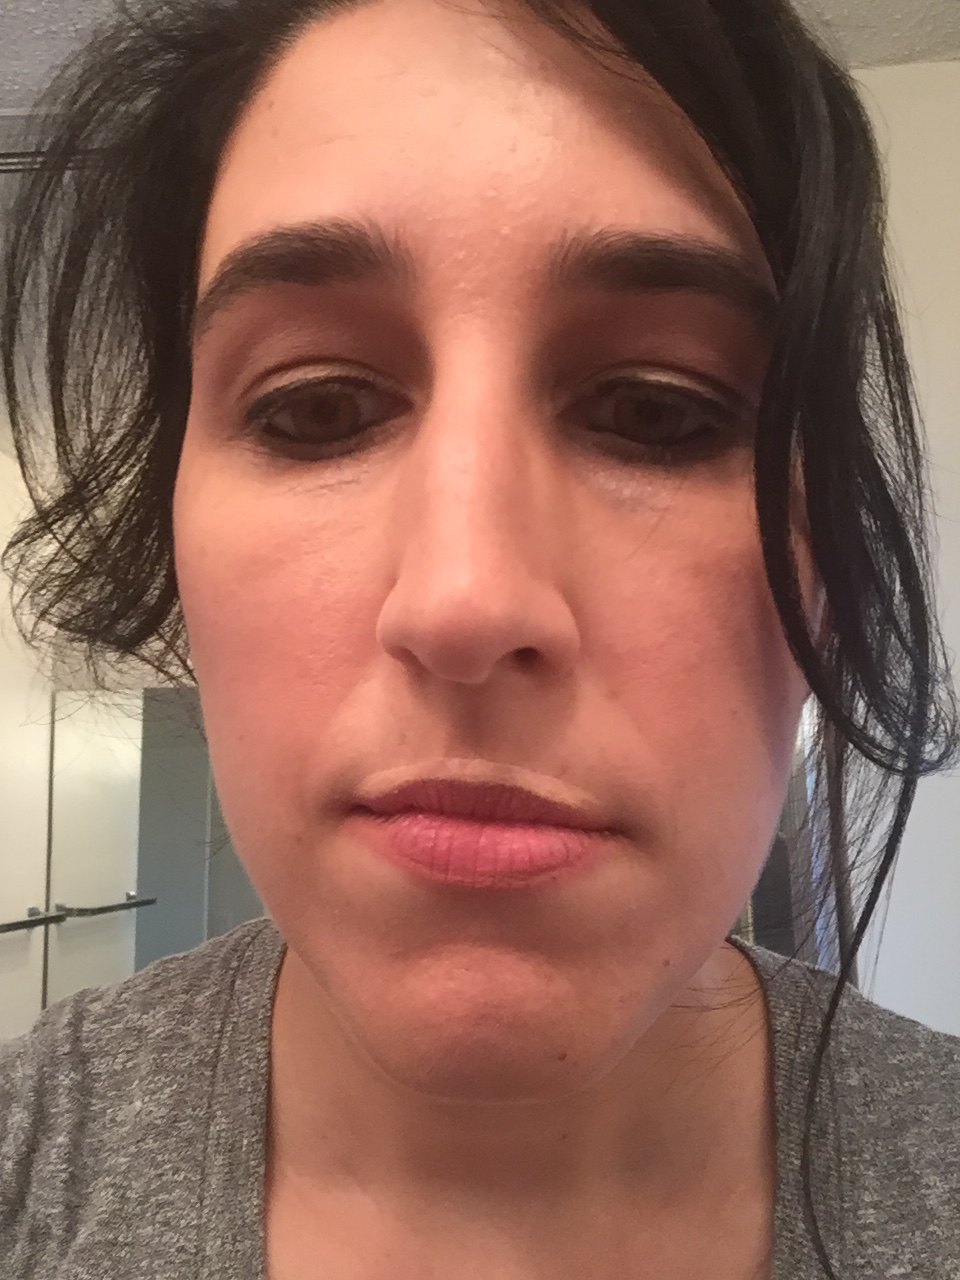
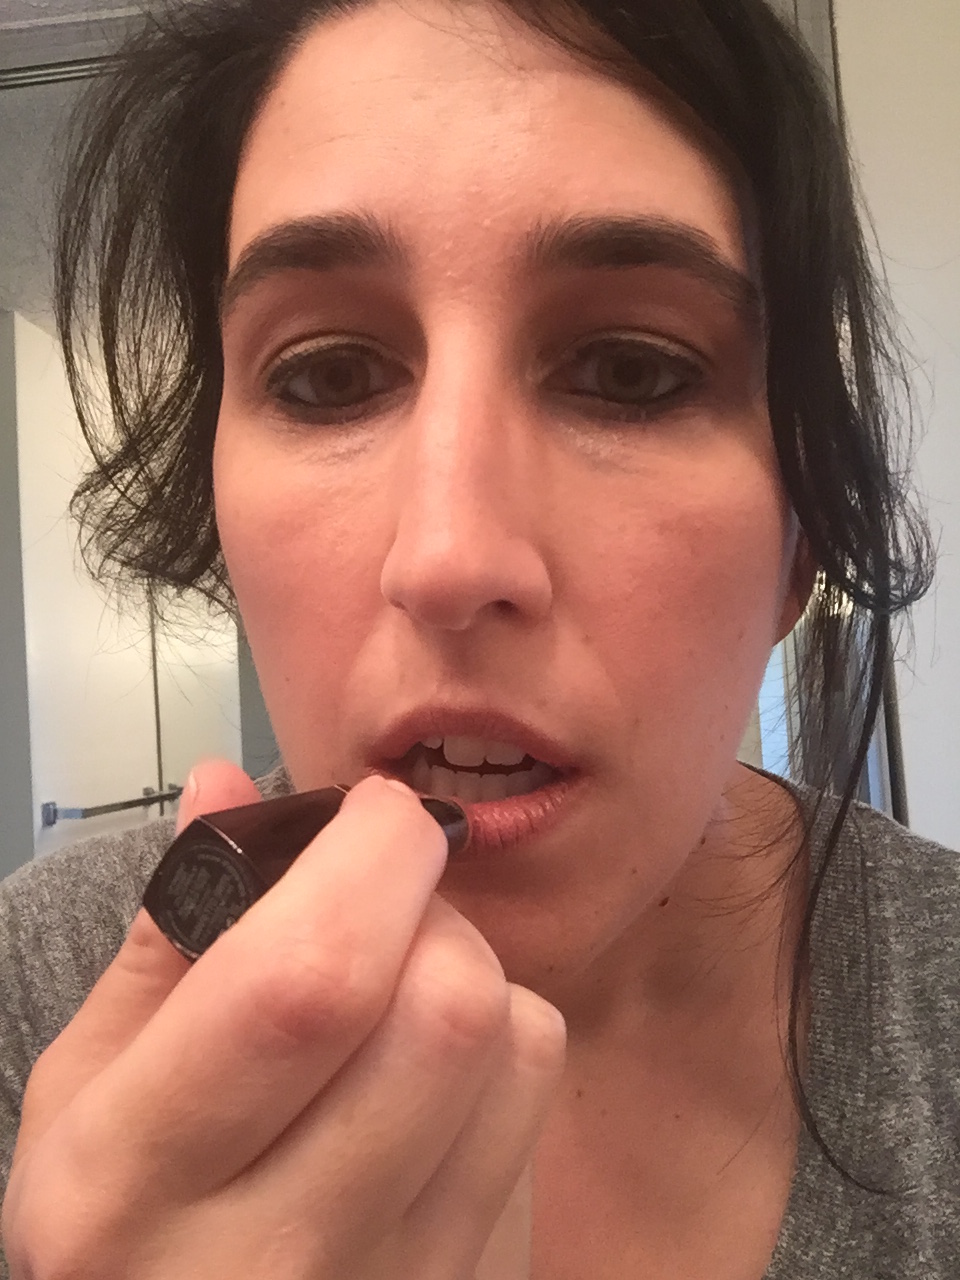
Step 16: Apply lipstick or lip gloss.
I usually like to wear a cream yet wet lipstick that is in between a nude and a light pink. I love Laura Mercier’s Lip Parfait Creamy Colourbalm in Amaretto Swirl ($25). It hydrates and smooths my lips and smells great too!
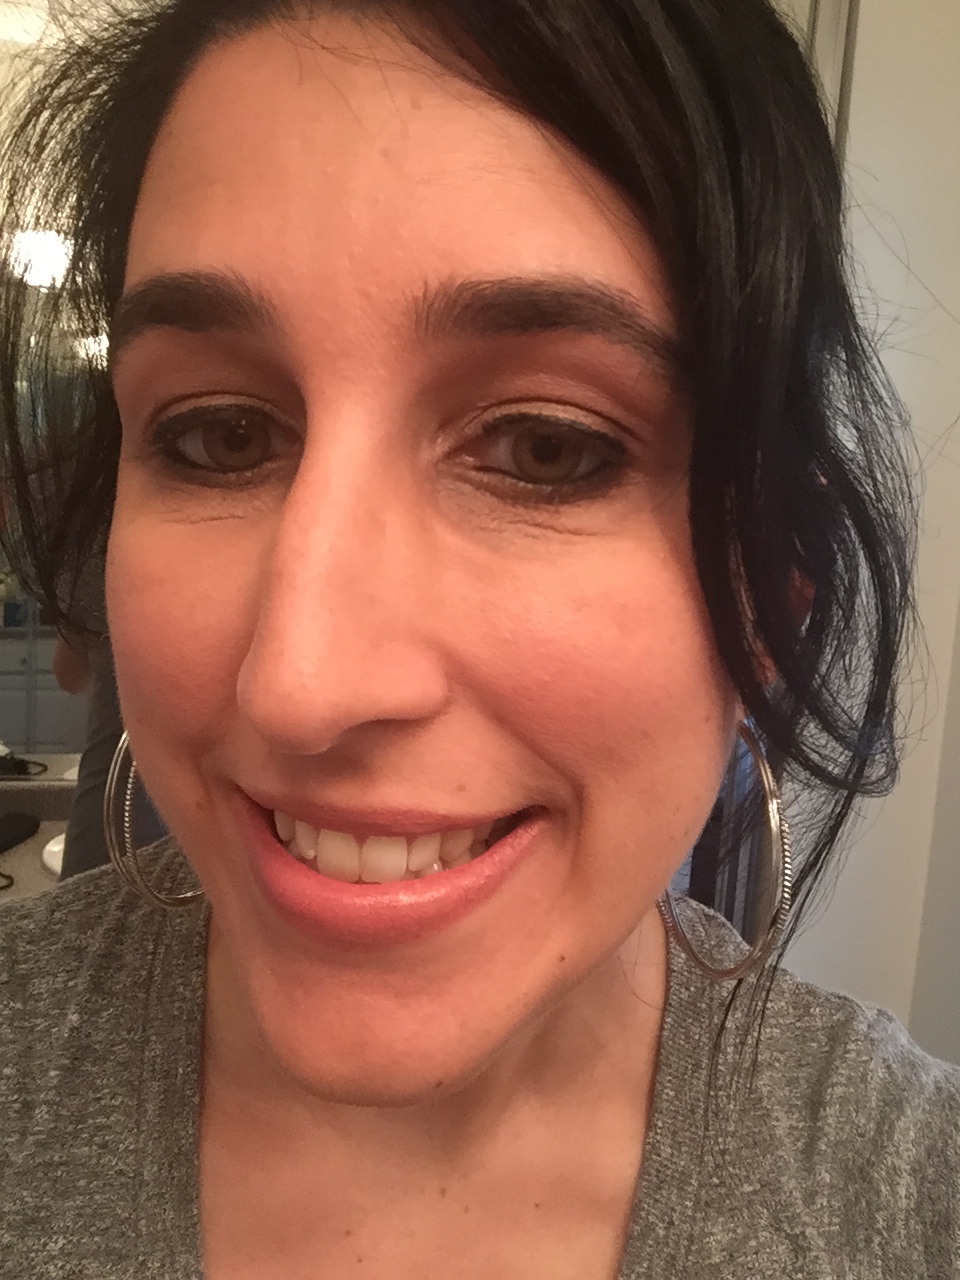
I’m now ready to hit the town! 🙂
Removing Makeup
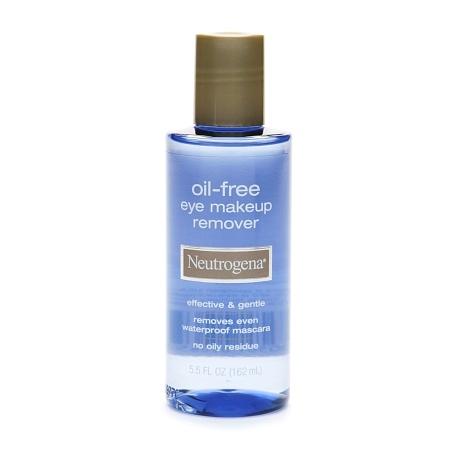
Step 1: Dab eye makeup remover onto cotton pads.
I usually use Lancôme’s Bi-Facial Eye Makeup Remover ($4 – $8.82) to gently remove all eye makeup, but I also ran out of this and I am using Neutrogena’s Oil-Free Eye Makeup Remover ($8.99). Just shake and apply! I usually go through one cotton pad per eye. I also use this to clean my Pro Stippling Brush each time I use it.
Step 2: Remove lipstick/gloss with a lip cleanser.
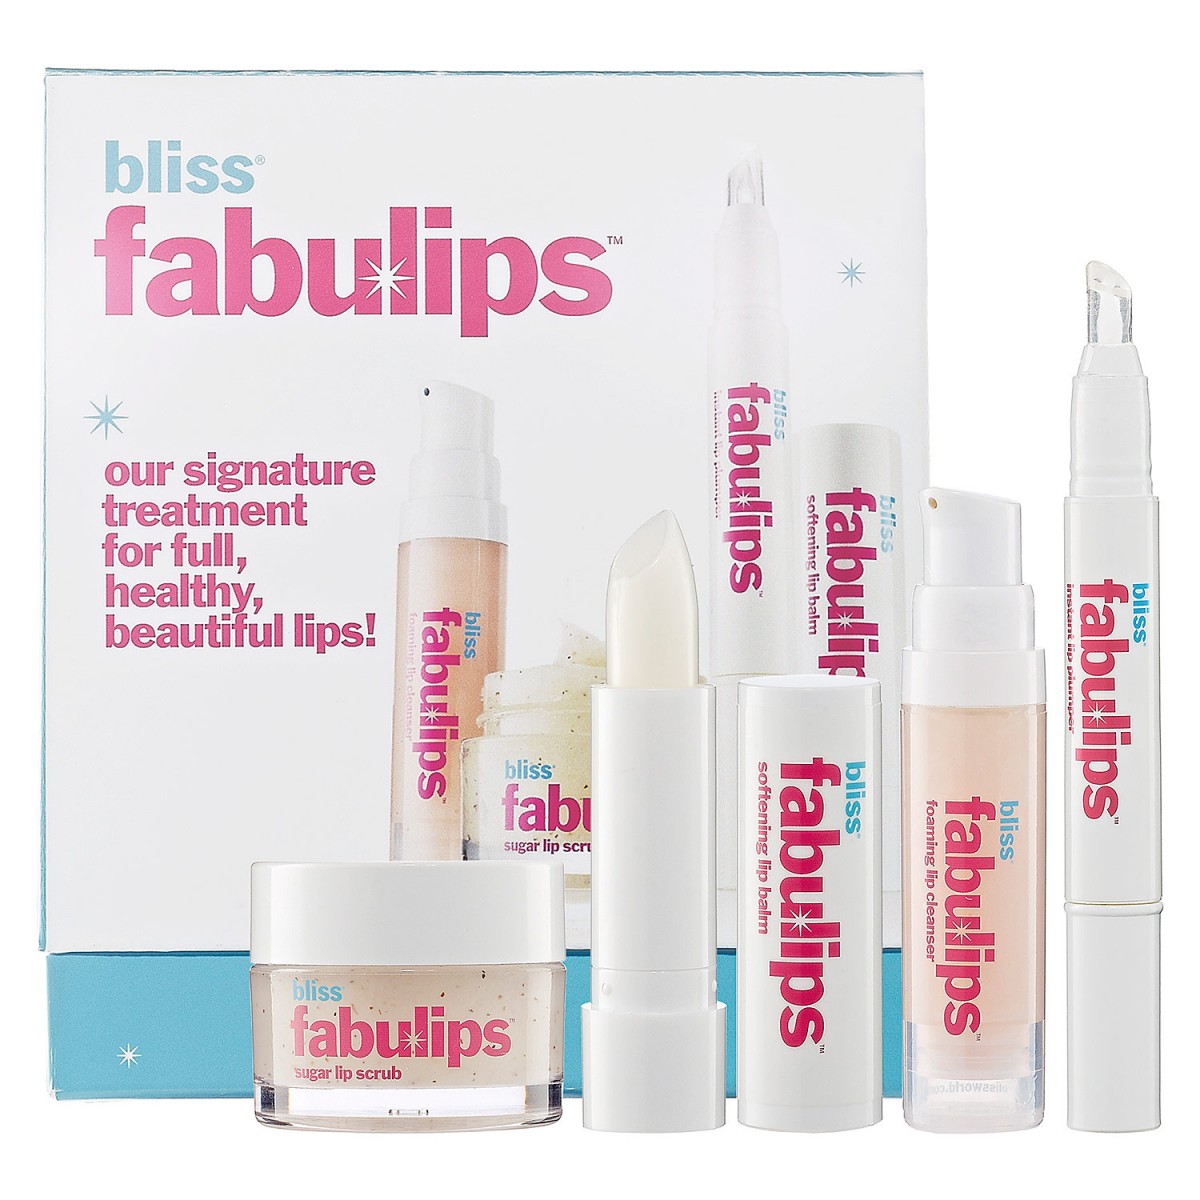
I use Bliss’ Lip Cleanser from the Fabulips Treatment Kit ($45) to remove any lipstick or gloss onto a cotton pad. Sometimes I have to apply a bit of water to a cotton pad as well to remove any excess product.
Step 3: Remove any makeup with a foam cleanser.
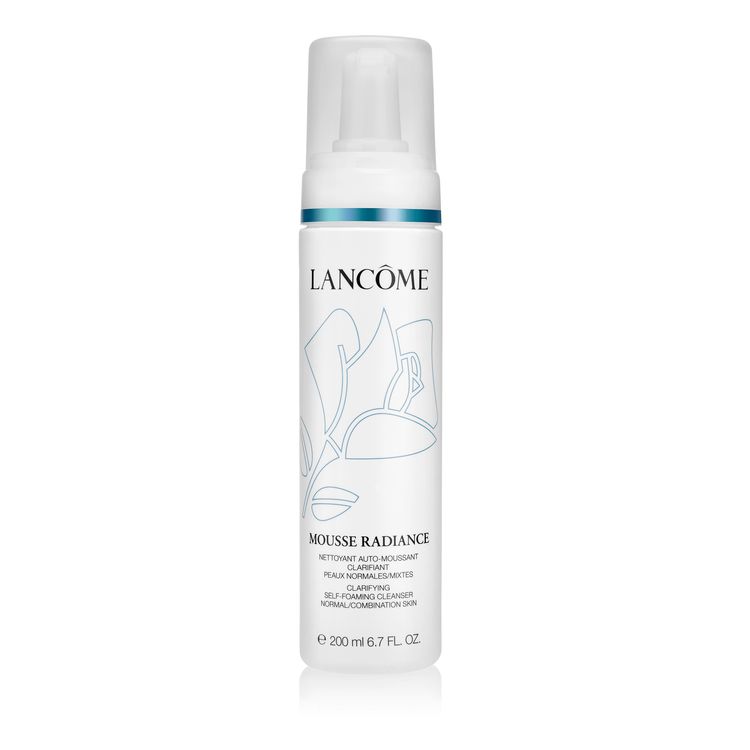
I now take off my facial makeup by using Lancôme’s Mousse Radiance ($32). It gently removes the makeup and my skin feels so smooth and soft afterwards!
Step 4: Remove any excess makeup with an astringent.
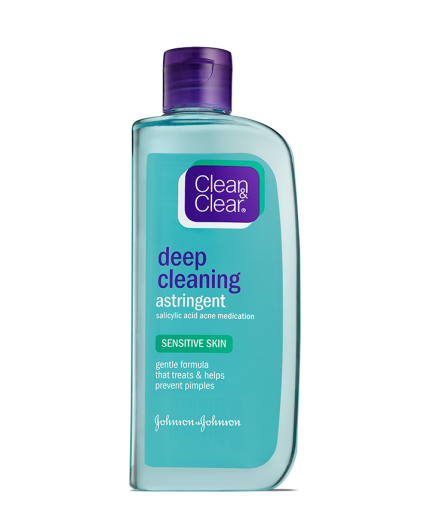
I know what you might be thinking: No, no, no, an astringent?! It dries out your skin! But actually I love using Clean and Clear’s Essentials Deep Cleaning Toner for Sensitive Skin ($6.49 from CVS Pharmacy) to get off an excess makeup that the mousse didn’t remove. Believe me, I go through about three pads with this! I also like it because it gets rid of the dirt and oil and also prevents me from getting breakouts.
There you have it! I hope you all enjoyed the process, I would love to hear any feedback or if you try this out on your own! 🙂